Friday 8 May 2009

Week 13 & 14 (10 & 11th week of work):

Upon my return to Newport, I quickly set to work finishing off the new texture for the enemy model, using the grain filter at varying settings to simulate the mottled look of the fabrics on the character, as well as painting highlights onto the visor and plastic components:

Photobucket

Photobucket
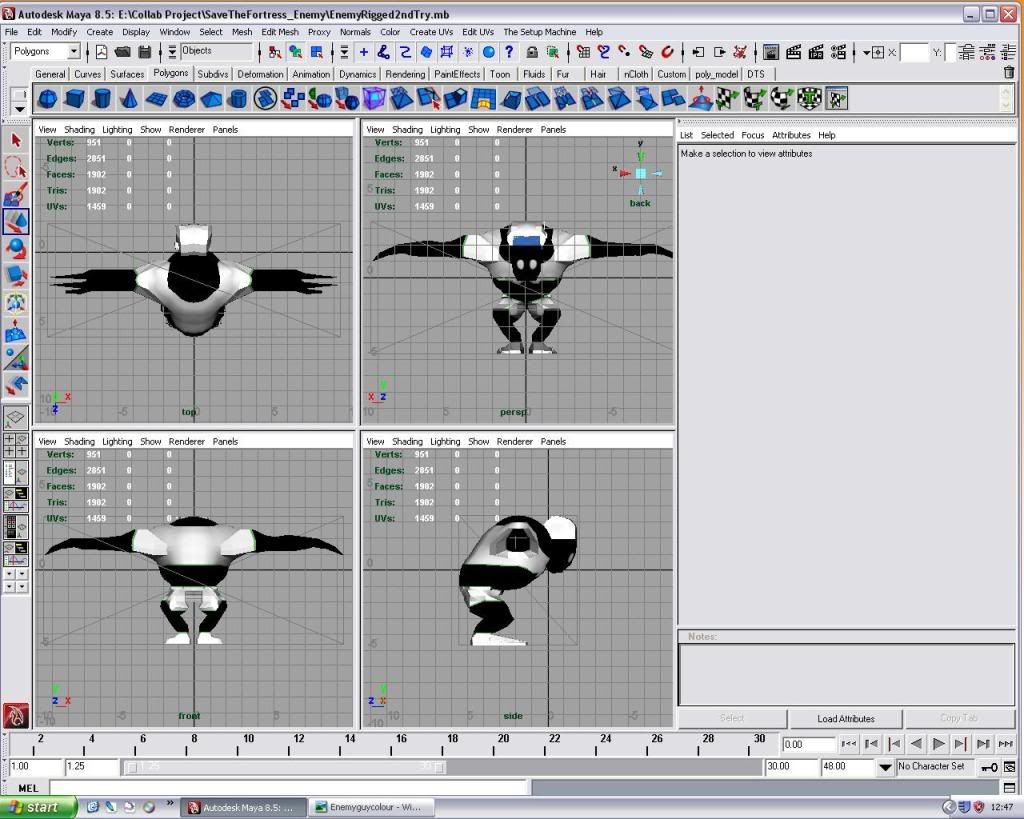
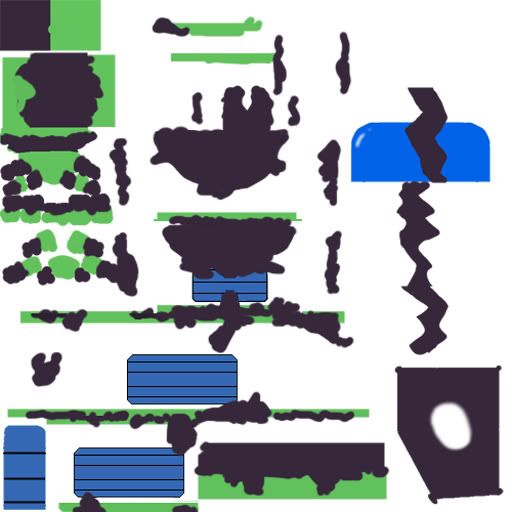
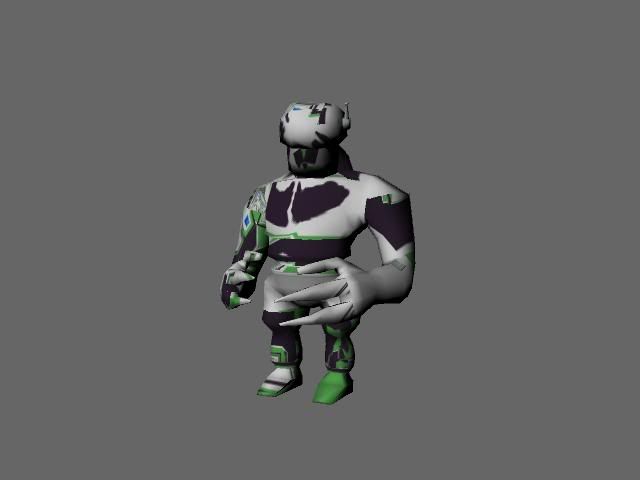
A Comparison of the “materialess” texture to the one with materials added. The most visible applications of materials on the green segments, the visor, and the plastic armour segments.
Admittedly, this week onward saw a reduction in time I devoted to the project. Most of the content that had or could be prepared by the designers had been completed, and what work was left was programming tasks. Also, my time on the project and fixing the problems I had encountered had been at the cost of other commitments that needed to be caught up on. I regret not being able to help our programmers out more, but the programming they are working on is beyond my scope of understanding.
Photobucket
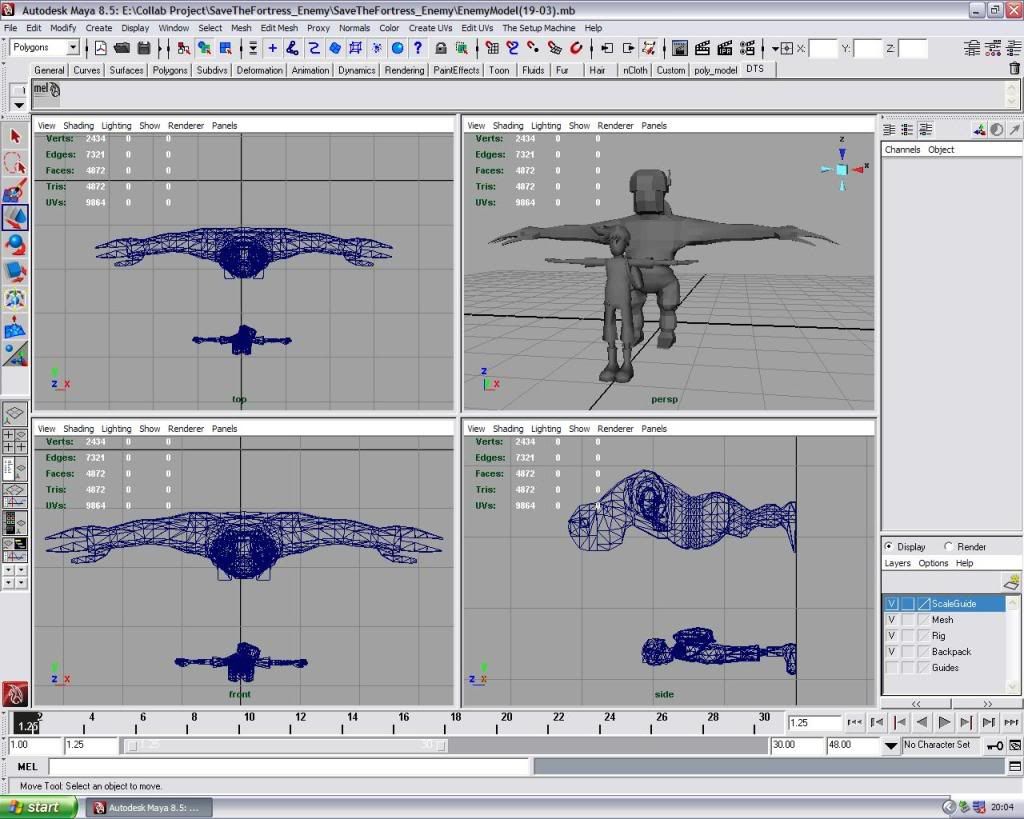
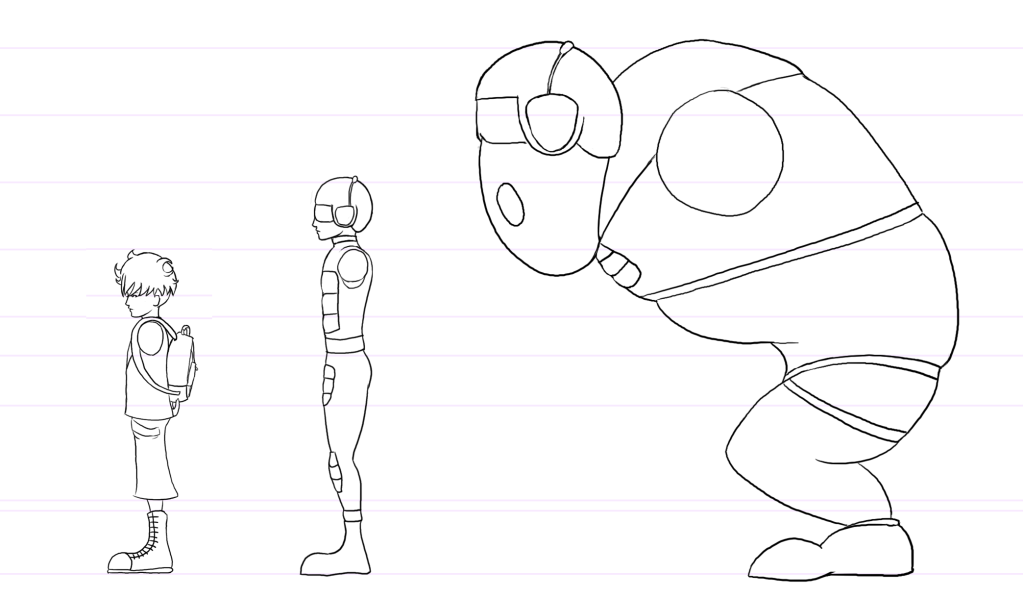
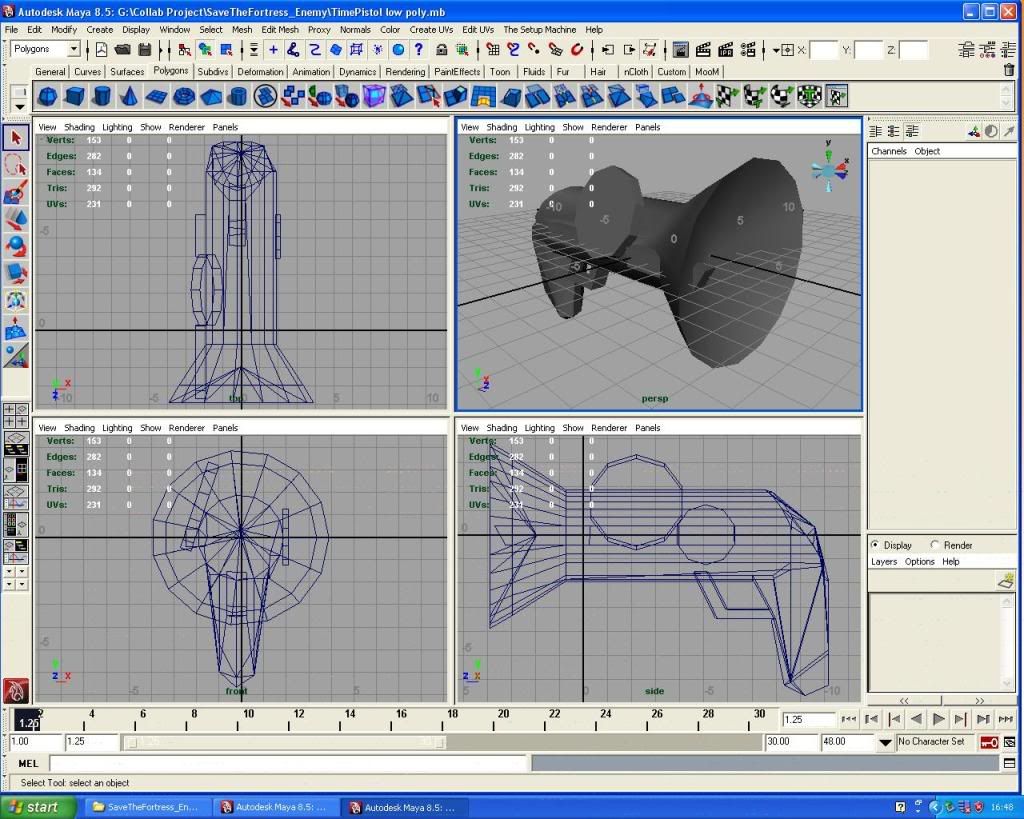
I made the final few animations for the enemy (including a “working” animation Lloyd requested for when the enemies were working at the consoles on the airships). It was during this time however, that I discovered some fundamental flaws in the designs (namely an error setting up controls on one arm, and an inability to twist the hands of the character, which meant I could not turn the fingers to be properly facing the console). Also, the texture problem that had occurred before had appeared again on the animation files, and I did not know how to fix the problem without inadvertently deleting the Presenting the problems to Hannah, she explained that time had sadly run out really to work on anything else, and to now cut our losses and polish up what we could, though I was relieved to hear that the way the animations work in Torque (with a .dts model file and several .dsq animation files) means that the deforming animations on the animations will be ignored, as they will instead use the texture on the static base model, which had already been fixed.

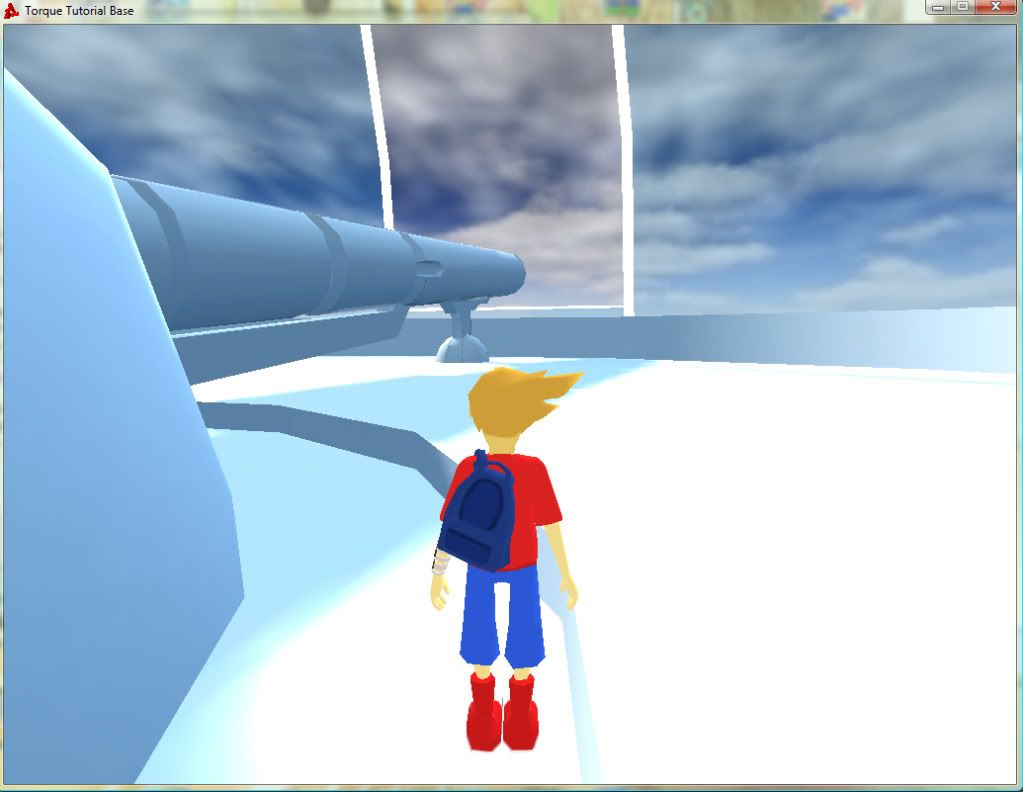
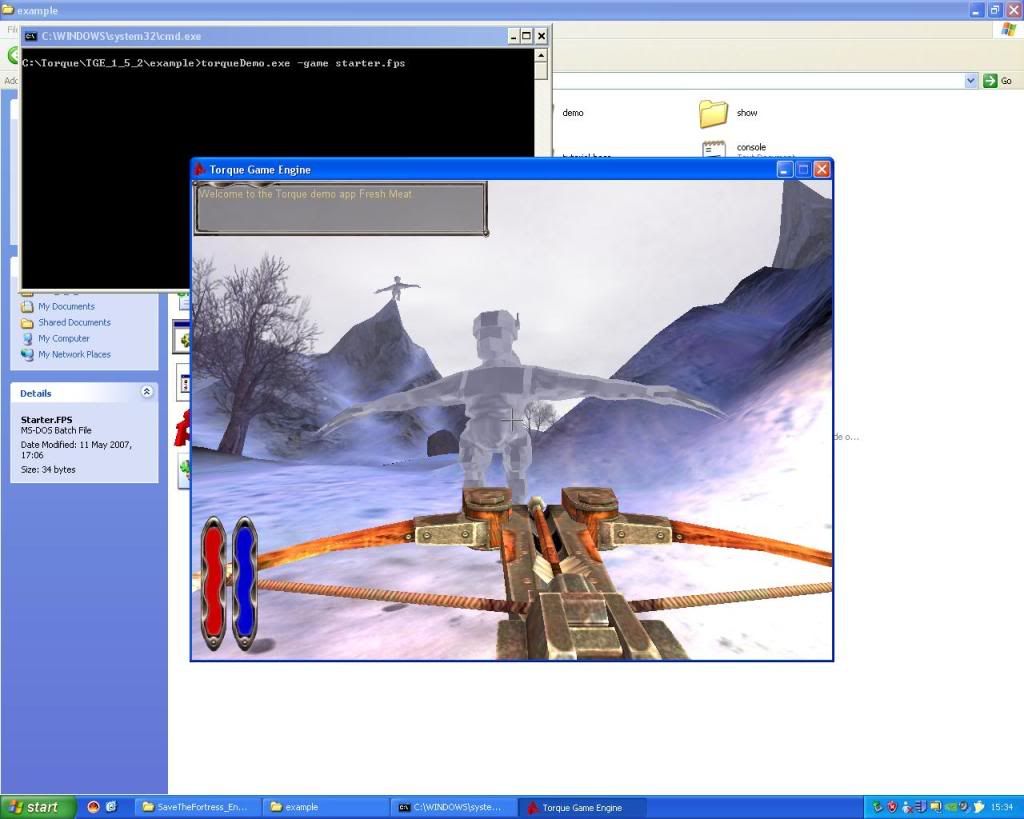
I also finally managed to fix the problem that was preventing the enemy from exporting correctly by restarting the adding of the collision meshes, using Hannah’s Chrono model as a reference. In engine the model was fine, though the Torque engine I was using for my tests in the university lab was crashing when the model’s collision mesh made contact with anything. This however was also happening with Hannah’s Chrono model, which I knew from our presentations was working fine in our build, so I decided that this error was likely something to do with that particular install of Torque, likely to do with our models not being optimised for the pre-made game example (one of the examples that come packaged with Torque) that I was inserting them into.

My final piece of work was in week 14, which saw me texture Harry’s fortress model; a relatively quick procedure (especially thanks to a “difference cloud” filter that I found created a nice looking mottled metal surface effect) and I got it ready for export by the weeks end:
Photobucket
Photobucket
Photobucket
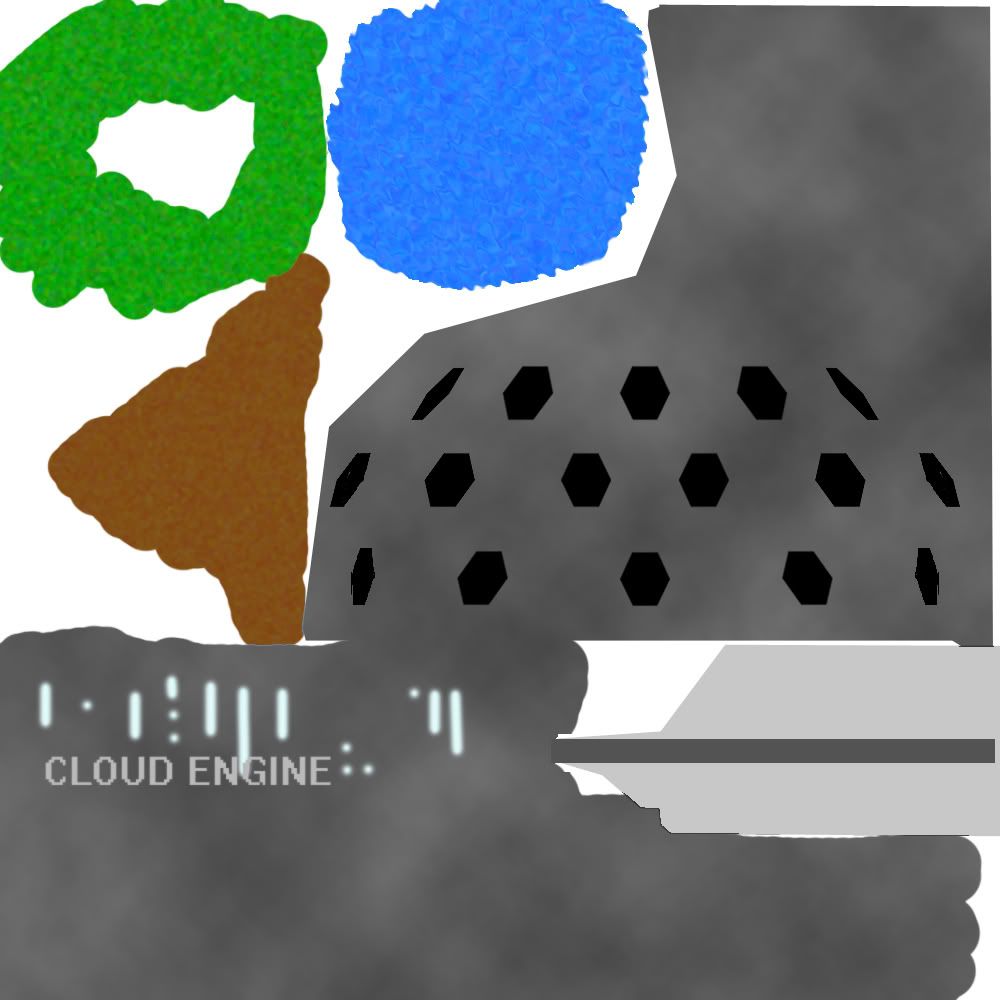
Unfortunately, some sort of error in the fortress model meant that attempts to bring the model into Engine failed (it would appear as an empty box, much like the enemy model did before) and so could not be put into engine. There was no time to work out what had happened, and an attempt to fix it in the same way i did the enemy model failed, forcing me to abandon the model and leave it as an unused asset.

This concluded my work for the “Save The Fortress” project. It was a pity to have to leave the project unfinished, especially as I had admittedly become quite attached to the concepts and ideas behind it, but time had caught up with us and forced our hand. I have had a lovely time working alongside the team, who had proven themselves as a capable workers and good companions throughout. I did notice several majors problems in my work practices and mild ones practices of the group mechanics that I could make note of for future projects, which had been a primary point of this module in the first place; a simulation of a real design house environment to prepare students for the industry. I certainly feel it has achieved this, and I am already confident that several of the skills and tips I have learnt on this project will help me in my upcoming third year assignment.

Thursday 7 May 2009

Easter Break (Week 10-12):

Was mostly devoted to another piece of university work (a large essay piece) that had to be completed shortly after our return, so I was unable to work much on the Save the Fortress project.

Week 9:

The final pre-Easter week saw much of the group preparing for our presentation and prepping the final build, but I was asked to continue working with the enemy model and thus did so. Seeing the project coming together within the presentation however was quite pleasing, and the group had a chance to see the fruits of their labour, especially Chrono, who had earned a name for himself as the first character from any group (to my knowledge) to get into engine animated.

Photobucket
However, Hannah, who was testing Chrono in engine at the time, did notice that Torque was not really achieving the cell-shaded graphical effect we intended with the project, and at the moment all of the textures were looking overtly bright. She managed to lower some of the light settings, but we also made the decision to add material surfaces to our textures (such as denim or wood) to help lessen the “Lego-like” (to borrow Hannah’s term) appearance. Our plan was to complete this over the Easter break and so return with them in late April.

For the enemy, Harry felt that his texture for him had been a little messy, and so asked me to make a new one. However, a slight miscommunication meant that I UV mapped the wrong character (the guard), and so had to rush in as mush as I could of the UV map for the enemy before I headed off home.

Week 8:

With week 8 I began weight painting the new model, which this time proved much easier and finally worked, allowing animation to finally begin! The texture Harry completed was added…

Photobucket

…And I began immediately…
…and found a bug…

The texture was deforming whenever I tried to move the model around. Mentioning this to Harry, who had much more experience than myself in modelling in Maya, he said he’d take a look and get back to me. While he was doing so, I continued to work on the asset list (which people had felt did not contain enough information, and so looked to deepen) for the project and on some of the other coursework due in around that time. As I finished these he had found the issue, which was my not delete the history of the model. I had stopped doing this as I had found deleting the history of a weighted model would wipe the weighting, meaning the modeller would need to start over. Harry however managed to find a way around this and fixed the bug, allowing me to continue the animating.

Photobucket

An example of the animations being made with the model.

Week 7:

By this time thoughts were beginning to turn to assembling a final build for our presentation before Easter. Until now our completed content was separated amongst several different builds and we had never actually brought it together. This meant that completing any unfinished material was top priority…including our enemy model.

Unfortunately all attempts to correct the weight problems on the model had failed; with the legs how they were, the system would never be able to make the correction, and the way the model had been constructed meant that moving the legs into a new position was proving just as impossible. Therefore, the decision was made to remake the model from scratch in a straighter more outstretched pose, so as to make weight painting and animating possible. Fortunately, as I had already created the first model in the past, I was able to speed though production of the new model, and had the base model rigged and ready for texturing and weighting by the end of the week:
Photobucket
Photobucket
A quick test of the model to check it works in Torque engine.
Prior to the rigging, Harry also asked me to make sure the model was scaled for the project, as he had noticed it to be far too big in the past. For this I downloaded Hannah’s Chrono model, and used it as a scale, comparing also to an older diagram drawn nearer the start of the project that compared the sizes of our three characters:
Photobucket
Photobucket
Also, I was asked to produce an asset list by Brendan; a list of all the elements that had to appear in the game for it to work, along with their file name and any properties that may be important. I worked on the first version of this on an evening over the weekend and uploaded it to the site. As with the questions list, i suspected that this would be a file i updated over the course of the project.

Week 6:

Photobucket

With completion of the model’s texture at the beginning of the week, I was able to focus on and finish the weight painting of the model. However, it was during this that a serious problem presented itself. The model was hunched over, with the knees bent in its idle pose instead of straight. This meant the vertices were all closely packed together and the computer was unable to properly apply the weighting and physics to the engine. Attempts to move the legs would horribly deform the stomach of the model, which would make it useless for our game. Throughout the week and on into the next, I repeatedly tried to manually re-weight the model amongst my other tasks.

Photobucket

Teusday’s meeting saw Brendan task me with producing the model for Chrono’s timepistol. As with the enemy character, I was given a model to use as reference, and aimed to keep to this image as closely as possible (though I did explain to Brendan that modelling the wires would considerably add to the poly-count for very little aesthetic value, and so we agreed to remove them).

Photobucket
Photobucket

My first model of the timepistol kept faithful to the model, including the smoothed handle (which was added by selecting the relevant faces, arranging them manually into a curve-like shape, and then using the smooth command). However, Harry was quick to remind me of the need for keeping polycount to a minimum (in fact this timepistol model had more polys then his finished model for the fortress!). He also explained that as Chrono’s hand would be covering the handle at almost all times, and it would be a very small model anyway, there was little need for such a highly detailed finish. I therefore created a second lower-poly version of the model that was more suitable, and once cleared with the team went on to texture it:


Photobucket

Photobucket

Tuesday 28 April 2009

Week 5

With the model successfully completed and polished (triangulating the mesh so it’s compatible with torque, shaving unneeded faces etc) attention turned to rigging the model with a skeleton of IK joints to prepare the model for animating, and to lay out the UV Map for texturing the model. Again the group had prior experience using both of these features, so production began smoothly (though in the tutorials provided by our tutors and technician I did find several features concerning both tools that I had not known of previously).


It was during the rigging that I found problems with getting the model to move correctly. When moving the hand forward, the elbow would not bend but instead lock in a straight line and follow the hand. Also if bending the arm inward the elbow would move vertically as opposed to horizontally.

Photobucket

Showing the problem to Harry, he suggested redoing the rig with a bend in the elbow, which would guide the joint in deciding which way to bend during animations. Further problems when shown to our technician Charlie were found to be my fault; I was unaware of the need to orient the joints on the model or of the need to weight paint the vertices of the model. Tutorials were planned for these features, but our group was making good progress and had reached the point of using the features before they tutorials were scheduled. Charlie however kindly guided us through the process. I completed the rigging, though the weighting had to be finished off next week.

Mapping the model was also made much easier thanks to a method introduced to me by Harry. Originally I have used the “automatic mapping” feature, which though quick and effective prevents much organisation of the map. Harry’s alternative uses the “planar mapping” feature, where the mapping is done according to a specific camera that can be angled by the player, and I could select which faces of the model to map onto the UV, and I could move the camera to different angles for different faces. Though a much slower method compared to automatic mapping, it allows far greater organisation of the UV Map, and allowed me to size elements myself, making high-detail parts on the UV map larger, making painting of the texture far easier. In the case of this model, as some textures were one solid colour, Harry showed how I could make these UVs very small on the UV Map, allowing me to paint them solidly with just a small square of colour. This gave me far more room to place the higher detail parts of the map.

Photobucket

Photobucket

While doing this, Harry asked if I could help him brainstorming the design for the fortress weather control device for Chrono to use in the end part of the project. He showed me some ideas he had come up with, which looked good, but they all made the control device out to look like a weapon, and I put forward the idea of alternatively making it look more like it was a normal, peaceful device that could just be used like a weapon, and idea he thought might be interesting. He also wanted the weapon to have some kind of close combat tool; a chainsaw or a laser, in case ships got too close to the cannon. As it was a weather device, I suggested a high pressure water cannon (inspired by the use of such a weapon by metal gear REY in Metal Gear Solid 2).

Photobucket

The first set of designs I devised were on a similar vein to his own; a sleek, high tech look made of simple models (any complex shapes would be represented through the texture). He liked them, but he felt a more “nature-esque” design would suit the model, so we looked to flowers as a possibility. He also thought it would make sense for water to have a role in the design in some way. Though this design direction was not used in the end due to time and poly limitations the brainstorming together I’m sure help.

Photobucket